
Technology for High Speed Cutting
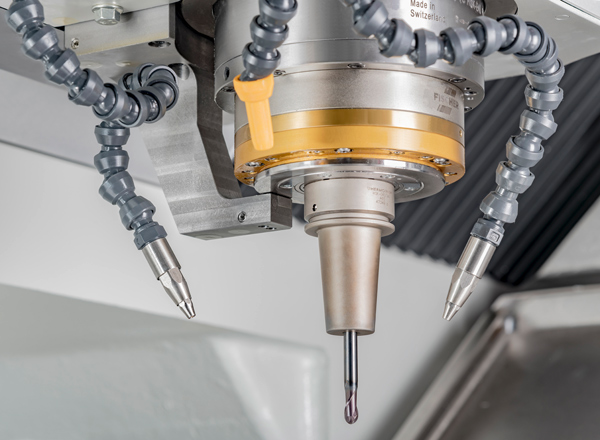
of the spindle elongation
- Implemented with an accurately temperature-controlled holder attached directly in the cast of the Z axis
- With a sensor for non-contact measure-ment on the rotating spindle shaft
- Resolution in the nanometer range
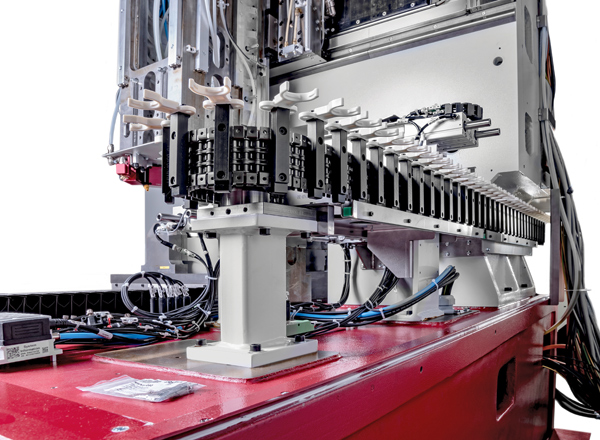
- Self-designed tool changer solutions with various speeds and sizes up to 199 tool places
- Measuring laser and calibration sphere located outside the machining area, where they are protected against chips and emulsion or oil
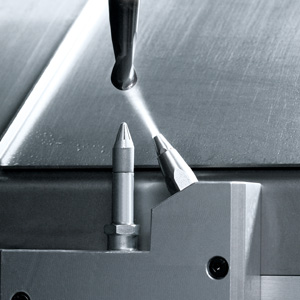
- Tool spray cleaning with solvent, followed by automatic drying for reliable, highly accurate laser measurement
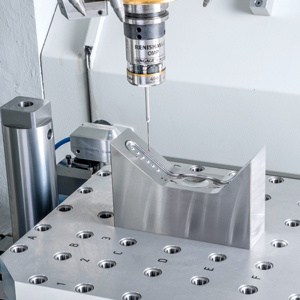
- High-precision measurement of workpieces with the 3D probe directly in the machine, cleaning with coolant before measurement possible, for automated machines optional feedback of the measuring results to the central database; retrofittable
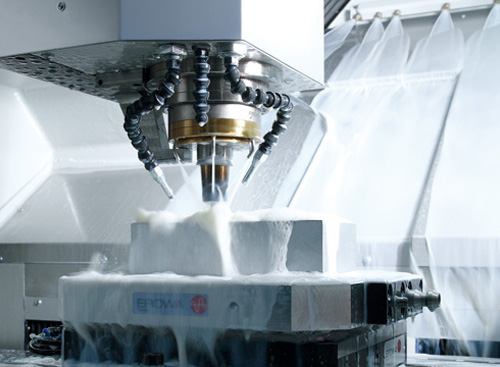
- Whether dry machining, using minimal lubrication, standard coolant or oil, solutions with accurate temperature control available for all variants
- Suction units for graphite or ceramic machining optional
